I designed this block for my online BEE with the {modern 12} group on flickr. I was inspired by this block
 from Janesfabrics on flickr and decided to create my own version that could be replicated by the other members in my bee.
This is the block I ended up designing... instruction follow below.
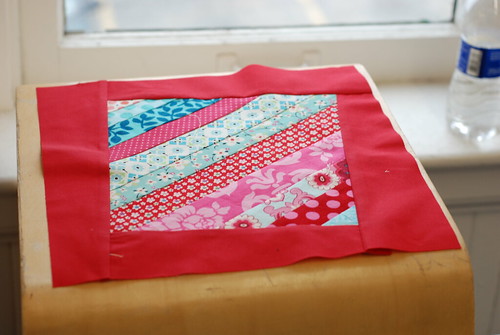
For the center square I decided to use the paper piecing method to make the string block - this was a first time for me!
I decided to make my center square 8 1/2". I cut my patterned aqua, pink & red fabrics into strips ranging from 1"-1 3/4". Mine were cut straight but I think I will cut some wonky for my next set of squares.
I picked my first 2 strips that would become the center and one next to it and stitched them right sides together with the center strip placed wrong side down across the diagonal center of the paper square. The strips should be long enough to go over the edges of the paper square. Align the edges and sew with a 1/4″ seam allowance. Stitch through paper and 2 layers of fabric. *** Important - decrease stitch length so that the stitches perforate the paper square *** This will allow you to easily remove the paper from the back later. My machine is typically set at 2.5 – I’ve found that reducing it to 1.5 works well.
Press the strips flat and choose your next strip to attach.
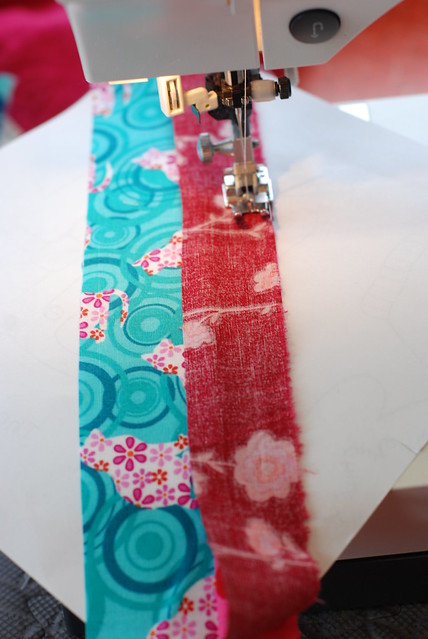
continue adding strips, pressing flat after stitching until you’ve covered the entire paper square. It will look something like this.
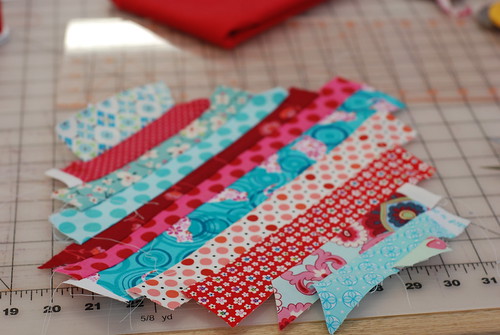
Flip the square over and trim - ( do you liek the scrap paper I used for my block!)

if you want a wonky square, do not cut right angles at the corners
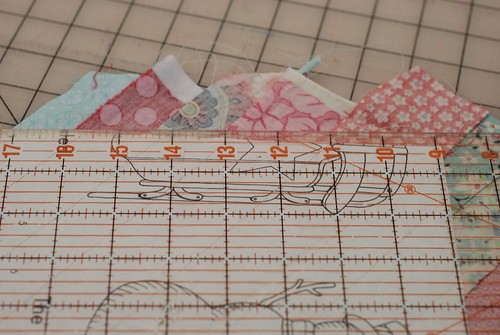
note - top edge - the ruler starts at the corner, angels up to create a wonky square.
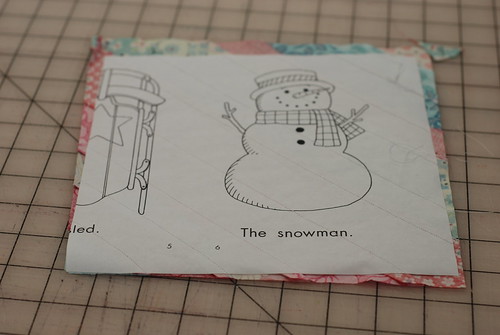
paper is a perfect 8 1/2" square, string block is a wonky square.
remove the paper before adding the outer border! If you’ve reduced the stitch length, the paper should appear almost perforated. I fold the paper along the stitch line and then tear away.
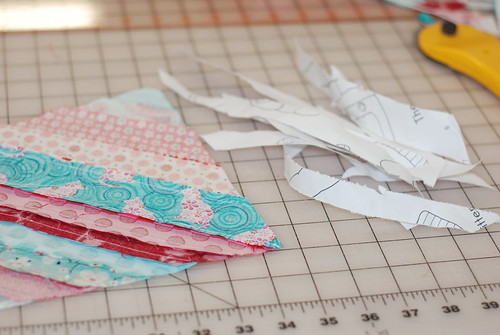
To make the block a finished 12 1/2" I next cut solid red kona into 3 1/2" strips and attached them to the edges of the string square. I placed the string square facedown on the red fabric so that I could be sure the seams stiched down properly as I sewed across them.
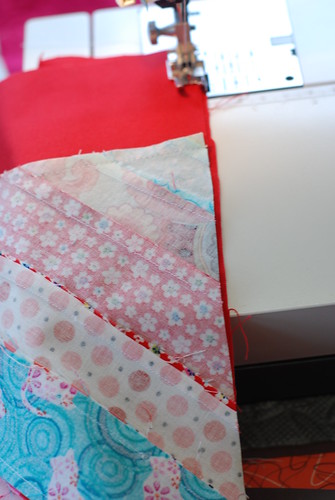
Press the seams towards the red fabric. Turn over and trim using your 12 1/2" square ruler. I turned the ruler to help create the wonky look I was after.
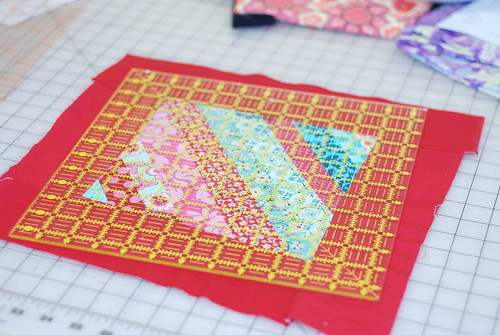
and you are done!
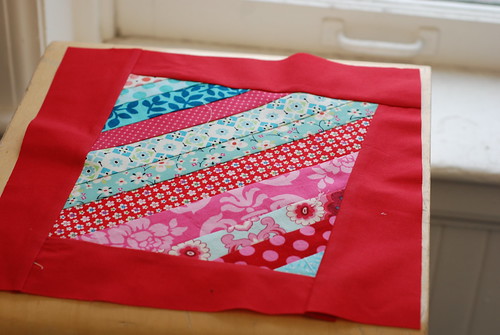
I plan to sash this quilt in white once my squares have been received. I will keep you posted on my progress!






1 comments:
Oh my goodness I am so honored that you liked my block. Especially enough to make one!!Great tutorial! Thank you so much for sharing your post and I cannot wait to see the quilt so please let me know when it is done.
Post a Comment